
You may have noticed this fashion trend of ironing patches and styling those clothes over social media. Many brands have also launched apparel that exhibits beautiful patchwork, but most are expensive. If your New Year’s resolution is to create fashionable OOTDs (outfits of the day) while on a budget, this guide has your back. Considering its step-by-step guidelines will save you money from costly patched garments and help you create one of your kind.
However, you would require iron-on patches tailored to your fashion vision and personality. You can purchase it from any trustworthy and affordable custom patch supplier online. Once you have them in your hand and have gathered other required materials, you’re ready to jump onto the following instructions. You’ll have a dashing garb by the end of it. Without taking further ado, let’s start!
9 Simple Steps To For Professionally Ironing Your Patches
- Check Out Your Garment’s Instruction Label
Before ironing your patches onto your garment, carefully check out its clothing instructions label. If you find an ‘X’ beside the small symbol of an iron machine, it means your apparel isn’t safe for ironing. One, two, or three dots refer to low, medium, and high heating levels.
If your garb’s instruction tag has an X, still carrying out the following procedure would damage the fabric. The appropriate clothing material for iron-on patches is denim, cotton, polyester, and canvas, while silk, leather, and nylon are heat-sensitive.
- Choose The Exact Placement
If your goal is to hide a particular stain, rip, or burn, then there are no questions about the patch placement. However, choose the location wisely to enhance your apparel’s appeal through a chic badge. You can either apply it on the middle of the pocket, elbow, near the collar, or somewhere else.
Be as creative as you wish while choosing the placement for your motif, and mark that specific area with a chalk or fabric marker. You can add a tiny dot representing the centre where the emblem would go. You should make enough room for every piece if you apply many or have plans for the future.
- Heat Your Iron
Keep your iron on the hottest temperature that your apparel can tolerate. If your garment’s fabric is heavy, like denim or canvas, increase the temperature to the highest. Otherwise, you can use medium-high heat for clothing materials like polyester and cotton. Hence, choose your machine’s temperature according to the suitability of your apparel and emblem to avoid any burn.
Turn off the steam option, as it would damage the adhesive backing of your iron on patches. In case you can’t access the ironing machine, use a hair straightener as an alternative for the application process.
- Flat Out Your Garment On An Ironing Board
Clean out your ironing board and flat out your garment onto it. Use any flat, tidy, heat-resistant surface if you don’t have it. Run the ironing machine over your apparel to make it wrinkle-free, mainly where you apply the motif. Trim loose threads with scissors if you’re patching over any rip or hole.
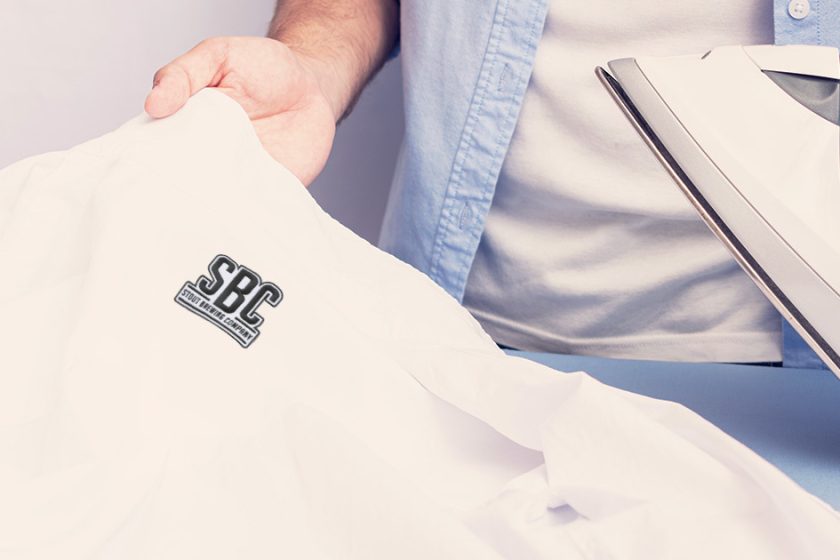
- Lay Down The Patch
Peel off the backing of your badge and lay it over your marked spot while exposing the adhesive side to the garment. Keep all the edges flattened. Keep a fusible webbing between the emblem and your clothing staple if there’s no adhesive backing.
If your motif will blend with the fabric, place it inside or under the apparel while exposing the print design through the hole. Besides, peel off the image side if you’re transferring the design from the transfer paper onto your clothing. Keep it facing down onto the garb, as the paper backing would quickly come off after providing heat later.
- Layer It Up With Parchment Paper
Layer your badge with parchment paper to protect their adhesive backing from heat damage. It also safeguards the ironing machine from a sticky adhesive solution that might leak out from the attachment during the process. You can use a thin towel as an alternative to the parchment paper.
- Time For Ironing
As you have done all the preparations, it’s the perfect time to place the iron onto the targeted spot. Apply firm pressure and move the machine in one direction until the adhesive material melts so the motif attaches itself to the garment. It would take approximately thirty seconds to a minute for a smaller to medium badge and two minutes for a large one.
Apply heat to every edge and bit of your embroidered patches to secure its adhesive backing with the clothing. Depending upon your logo’s size and apparel’s fabric, you can extend the duration if required.
- Flip The Apparel And Iron Again
Flip your apparel to provide heat to the backside of the badge and secure the attachment even further. Depending on the factors, apply firm pressure once again for a minute or two to completely melt off the adhesive material. You don’t need to place any thin towel or parchment paper for this step. Ensure you carefully flip your garb, as it has not yet stuck to the motif.
- Let The Adhesive Do Its Magic
Once you have provided heat from both sides, don’t touch the apparel for about thirty minutes if you’re in a hurry. If not, let it sit for a few hours, flip it right side up, and check the attachment. Lift the edges slightly with your finger. Place parchment paper over them and repeat the procedure if you notice them moving or coming off. Thus, your apparel style will be pumped up with classic or trendiest style, depending upon your motif’s design.
Final Verdict
There you have it! This step-by-step guide will help you perfectly iron your patches onto your apparel and accessories. Carefully implement them to obtain the best results and hide any rips, holes, or stains. It will also let you embrace fashionable vibes and turn your simple apparel into the trendiest garb. After practice, you would get better, or even perfect, at ironing patches and would easily enhance any garment’s appeal. Best wishes with your patch-ironing!